This is useful for setting up corporate/organization/domain- based subscriptions on your website. Licensing options are available. If the user limit is set as 100, only 100 users with the mentioned domain in their email addresses would be able to access the premium content.
Once the mentioned user limit is reached, no more users can access the premium content as part of this subscription group.
How to create group subscriptions:
Please follow the below steps to enable group subscription for the required organisation.
Step-1: Creating the subscription group:
1. Go to https://www.accesstype.com/subscription_groups
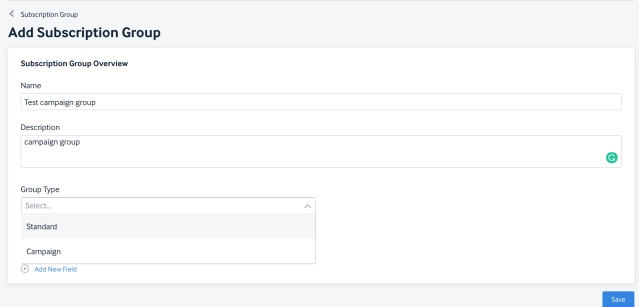
2. Click on 'Add subscription group'
3. Fill in the name, description, choose the Group type as 'Group access'
4. Choose the visibility of the group as required and save the changes.
Step-2: Adding plans to the group:
Once you create the subscription group, the next step is to edit the group and add the plans required.
1. Go to https://www.accesstype.com/subscription_groups/
2. Edit the subscription group you have created in step-1.
3. Click on 'Add plan' button available.
[NOTE: You can add as many plans as required to any of the groups]
4. Mention the name, description, occurrence, duration on the plan and time unit(weekly/monthly/so on).
5. IMPORTANT: Please mention the user limit(the number of users within the organisation who should be able to access the premium content as part of the plan).
6. Mention the price of the plan accordingly and save.
Once this is done, by default a site-wite asset would be added to this plan. This can be modified according to use case by editing the plan.
Step-3: Creating the organization:
Next up is to create the organisation which is going to avail the group benefits.
1. Go to https://www.accesstype.com/organizations
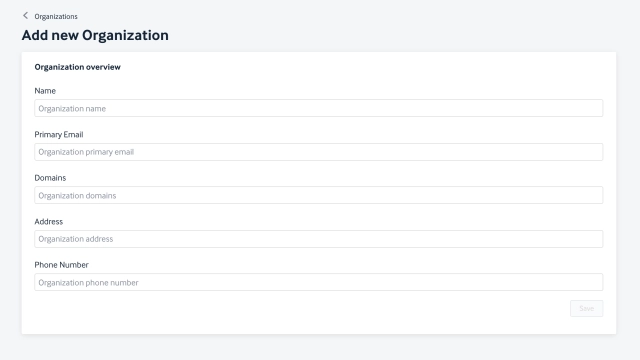
2. Click on Add new organization.
3. Fill out the required details and save the changes.
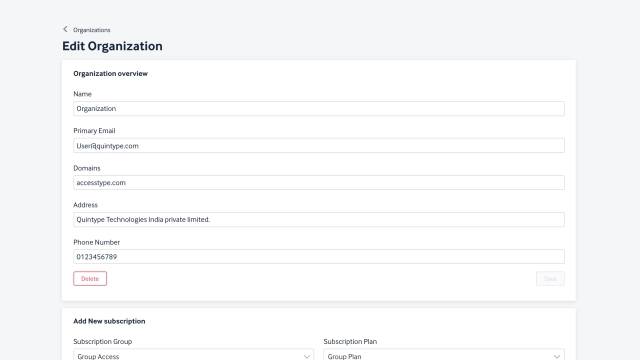
4. Click on the organization that was created and map the subscription group(created in step-1) and plan(s) (created in step-2).
5. Once the plan and group are mapped, mention the amount paid and save.
Step-4: Adding users to the plan:
1. After mapping the plan and group, click on the plan.
2. You would be redirected to a page where you would be prompted to add the members.
3. From the File that you have shared, please remove the 'category' column (its not required) and upload the file by clicking on the 'Choose file' option in the bottom of the page.
4. Alternatively, you could add the name and email address of the members one by one if needed.
Step-5: Users should sign up on the website to be able to access the content:
1. Once the above 4 steps are carried out, please request the users(each of them) to sign up on the website frontend to be able to sync their accounts in the DB and get them access.
Release Notes: May 16th, 2023
Add custom attributes card component in Subscription Group details page:
The accesstype team has introduced a new feature "Custom Attributes" which allows users to add different attributes (for example - Des) with text types "Plain" and "Rich" on the Subscription Group details page in AT dashboard.
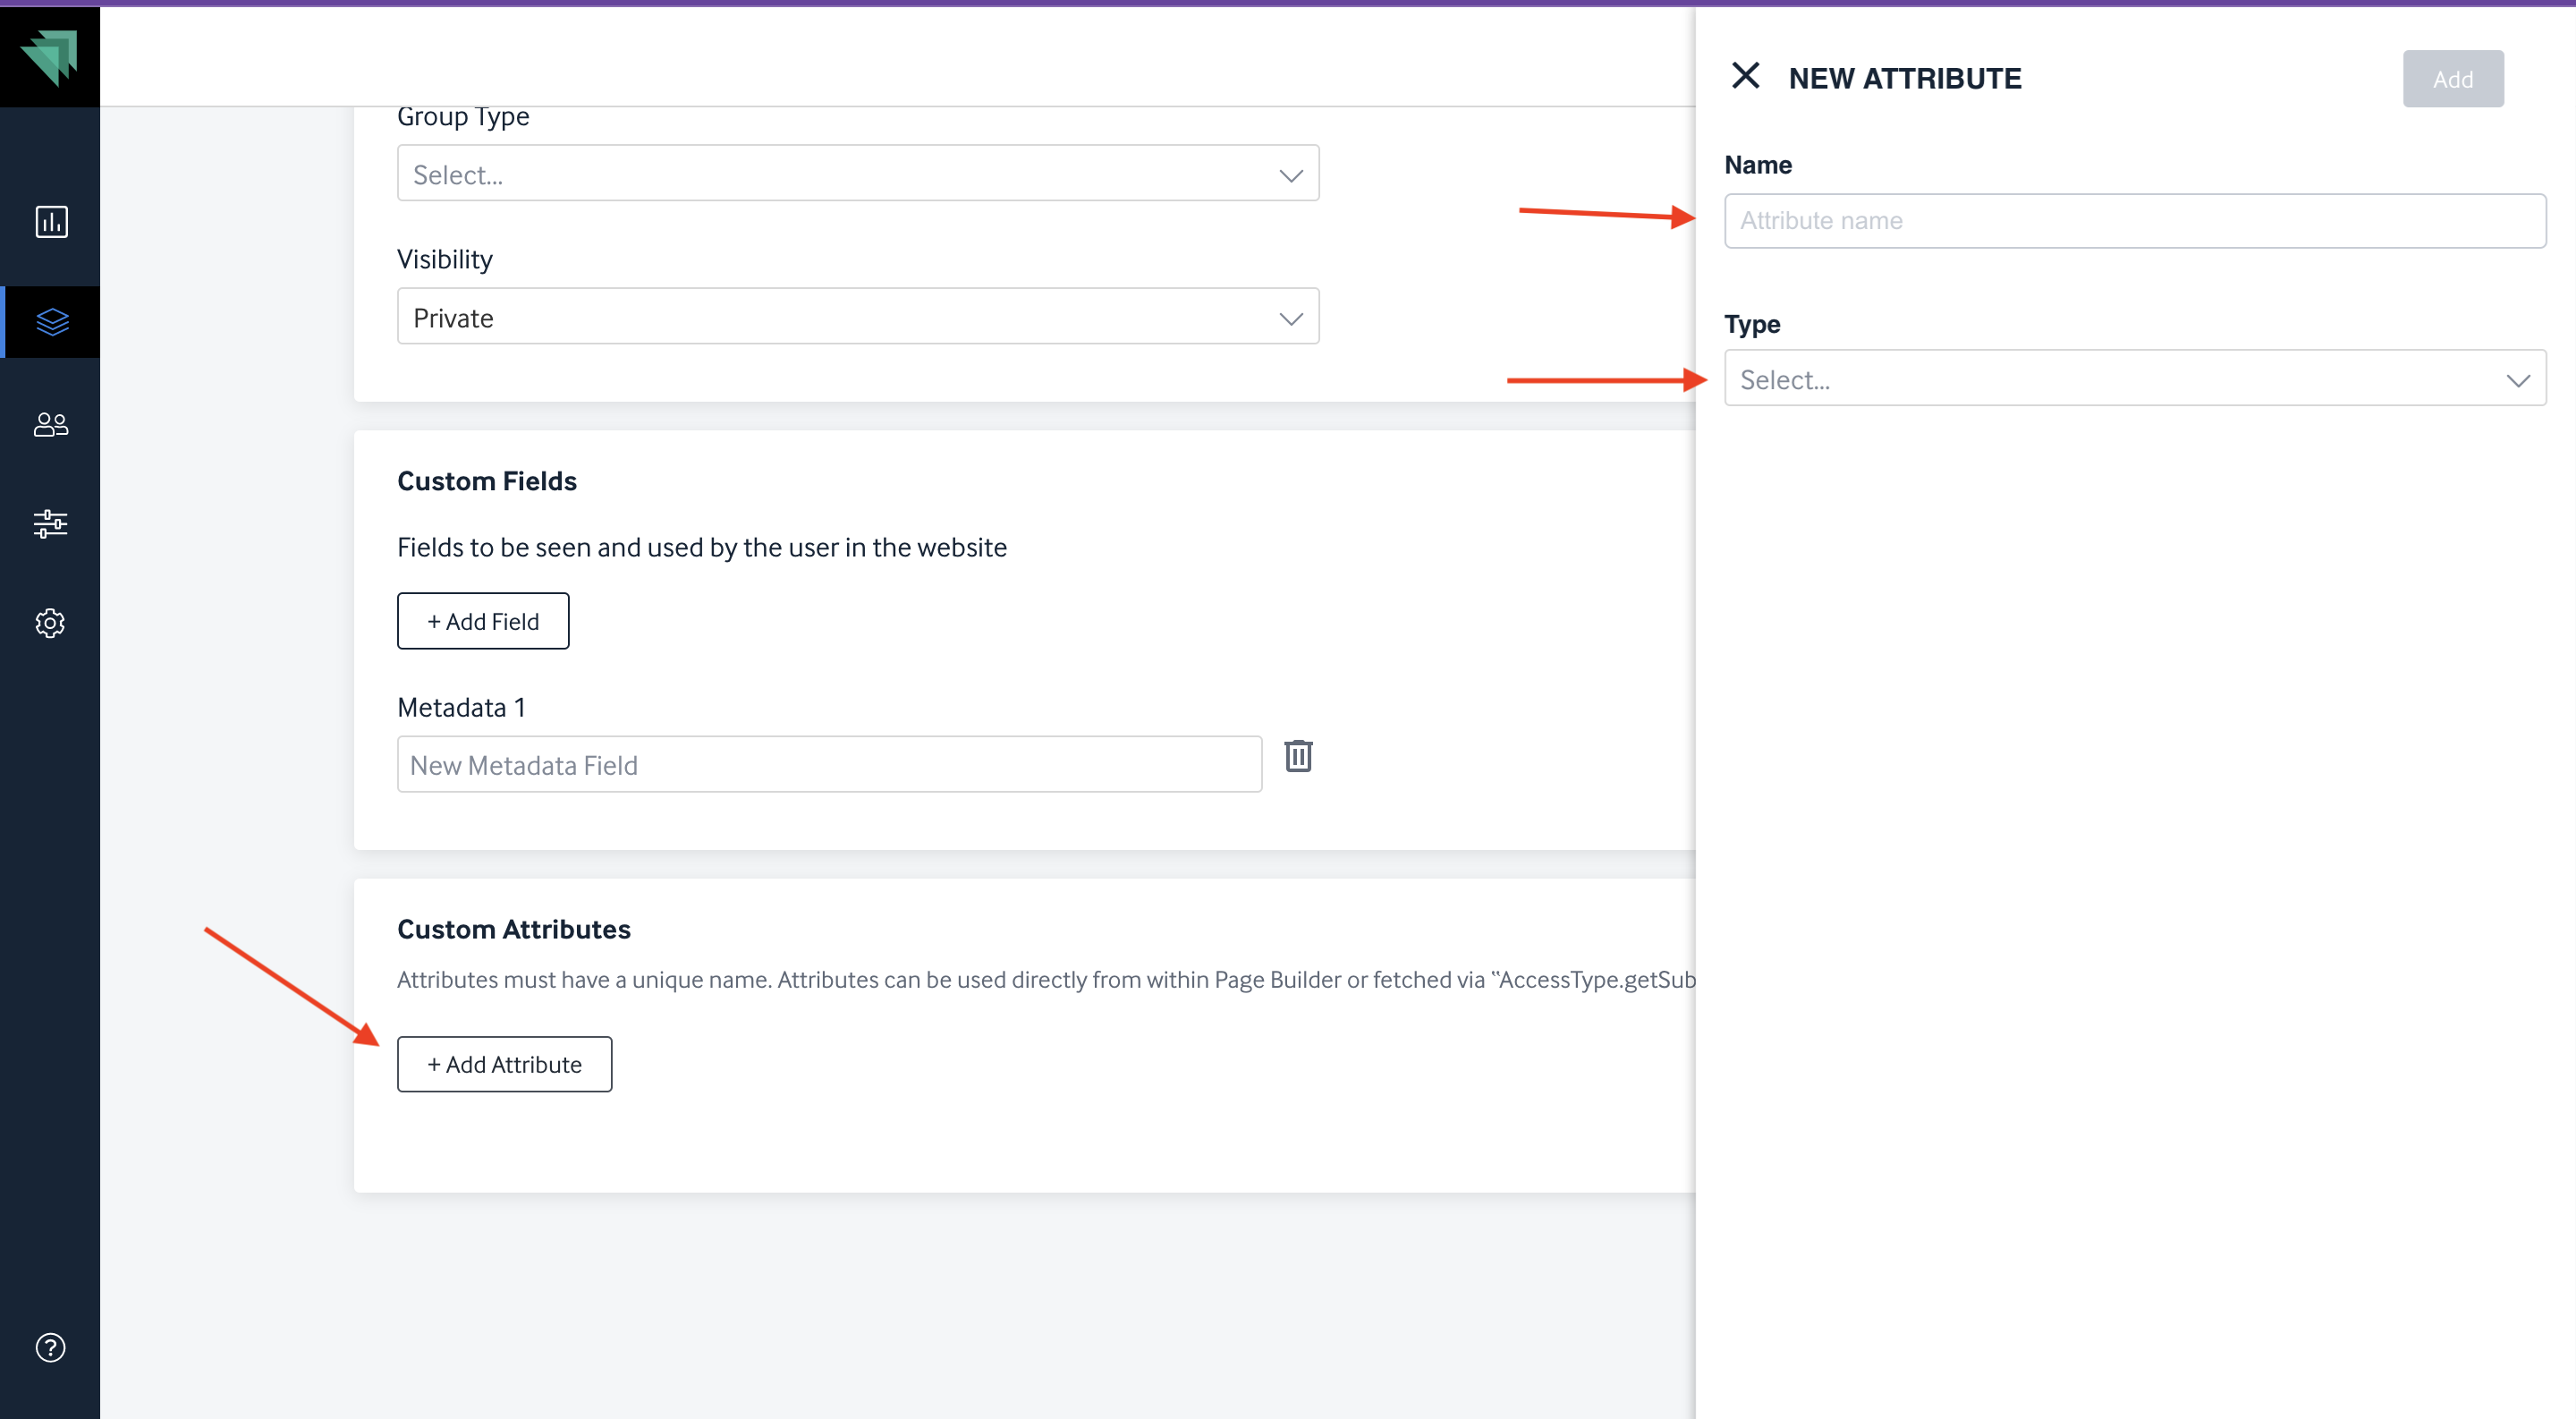
This newly introduced card is available for both custom clients and page builder clients.
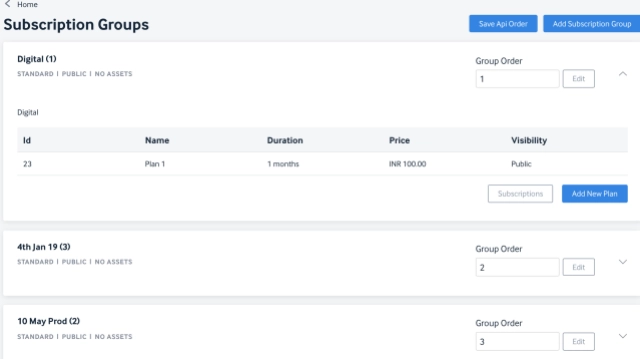
Group Reordering
AT now allows admins to reorder the subscription group from the dashboard based on the need. This saves a lot of time and effort for publishing/marketing teams at publication house to change the order in which it should display the groups on their website for their consumers.
Release Notes: JANUARY 2020
Append Campaigns into the Subscription module
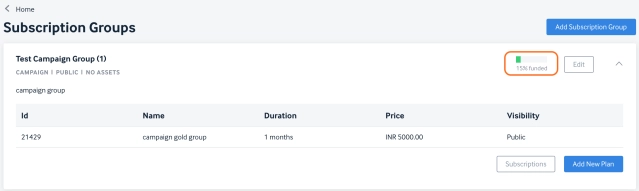
Creating and maintaining campaigns are now made simple by making them part of Subscriptions. Users can create a subscription group of type Campaign and assign a goal to it.
While setting up a goal, users can now select a currency of choice from the vast range of currencies available from the dropdown. Plans that are created within this group will only have the currency chosen while creating that group.
The groups of type Campaigns will show the progress bar on the Goal Achieved against the set target. This makes it easy for the users to track the goal in real time.
Release Notes: May 2020
What's new
Introducing a new group type called "Group Access"
A new group type called "Group Access" has been introduced which now allows a group of people to access content basis the plan purchased by the organisation they belong to.
What it brings
Publishers can now have group subscriptions by creating corporate organisations as their customers. Basic information required to create an organisation are Organisation Name, Primary Email & contact information, Domain name of the organisation.
Admin can allow/restrict the number of users within the organisation who can access the content by entering the max number as part of the configuration. The details of these configuration will be basis the sale agreement between the corporate organisation & the publication house.

Release Notes: June 13th, 2023
Accesstype Dashboard Key value pair Feature:
Problem statement- The publisher is trying to convey the value, perks and any other information related to subscription plans to the reader. However, they are not able to display this information on the plans page of the website because AT doesn’t allow them to do so. Publishers either hardcode it on the front end or use metadata fields in AT as a workaround.
Solution- With the introduction of this change, AT dashboard will now allow Rich Text in the description box using Rich Text Editor, Add Images and Custom Attributes. These three features have been added to the Subscription Groups page as well as the Subscription Plan page.
Note - All the three features are available for custom sites and for page builder sites as of now only the Rich Text Editor feature is supported. To enable the Rich Text Editor, the publisher can raise this to the support team to get it enabled on the code level. Image upload and Custom Attribute feature are already available in AT dashboard for custom sites.
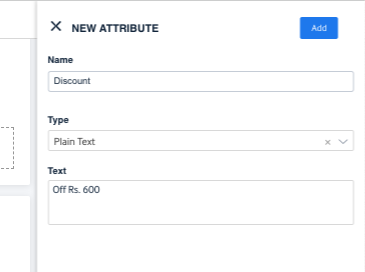
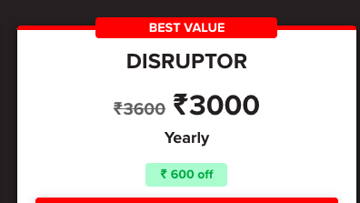
Furthermore, earlier attributes had to be hardcoded on FE but now the Custom Attributes can be controlled using Accesstype, the client can simply define the attributes such as discount (off Rs. 600), tag (Best Value), rich text (strikethrough Rs. 3600), etc. and it will show up in the API, then the FE team can simply put these on-site wherever required on the subscription page.
Example of Custom Attribute on FE:
Example of Rich Text on FE:
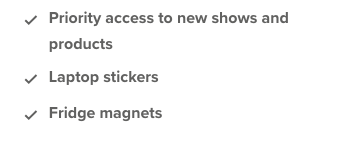
Example of Images in plans:

Screenshot of rich text editor in Accesstype:

Screenshot of Image upload in Accesstype:
Screenshot of Custom Attribute in Accesstype: